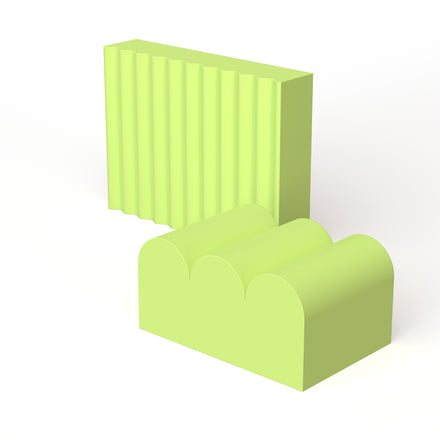
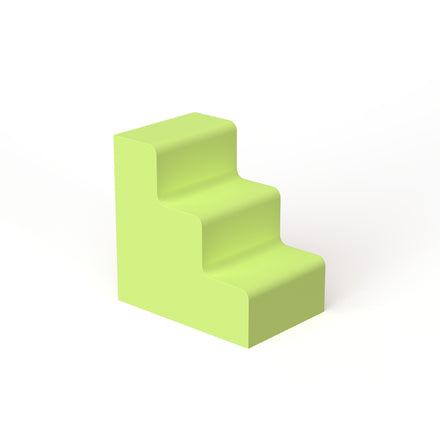
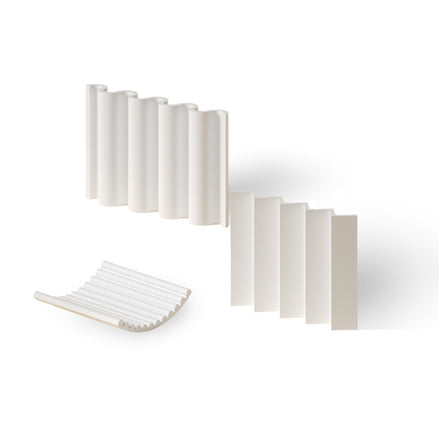
We believe in the importance of treating ourselves, of course. But we also believe in doing so within reason. And well, while purchasing new props and pieces might be an acceptable form of “treating ourselves,” things can get just a tad pricey. Really, who said that we had to get entirely new pieces and props every month, anyways?

" We also recommend that you never aim directly at one spot on your piece, as that can lead to dripping. If dripping occurs, that’s okay! Just wipe it with a cloth, and repaint that spot. "
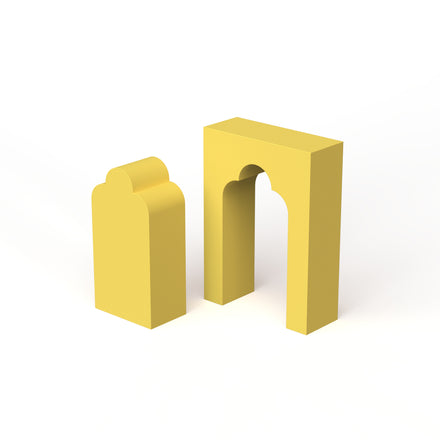
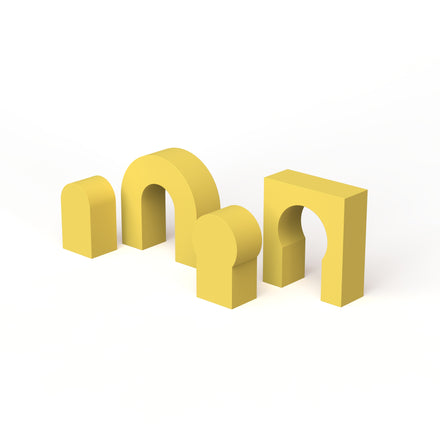
We’ve found that one piece can be used, reused, repurposed and painted multiple times for a different effect. In fact, we’re here today to make it infinitely more difficult for you to find an excuse to A) purchase a new prop or piece unnecessarily or B) not purchase that prop or piece you need, due to it being the wrong color.
In today’s blog, we’re sharing two different ways to transform the color of your wooden props and pieces (particularly Moodelier’s), to suit your brand, your shoot and ultimately, your aesthetic dreams.
Grab some notes and a Moodboard (get it?), and let’s get started.
Painting Tips
Truthfully, painting is pretty simple. You’re going to need a wide open space, plenty of cardboard or protective materials, and patience in spades.
You’ll also need time - time to actually paint your pieces, and time to let them properly dry. If you’re short on time (and patience), just scroll down to the next section of this blog.
So, let’s say that you’ve got some time to update the color or pattern of your pieces a bit more permanently. Let’s also say that you’re wanting to change the color of your pieces, without having to fuss too much with editing and fine tuning in post-production.
Sound familiar? If so, we’ve broken our painting process down into 5 simple steps for you to follow from the safety and comfort of your own space.
Step 1: First things first, please make sure each piece’s surface is smooth, in order to achieve even paint distribution. If the surface is not perfectly smooth, take some time to sand the areas in question. If you’ve already painted the pieces and are wanting to touch things up or maybe even repaint them altogether, make sure to sand the entire piece.
Step 2: After thoroughly sanding your piece(s), use a microfiber cloth to wipe the surface clean. You’ll want to remove all dust and particles!
Step 3: Select your spray paint - almost any spray paint from art supply stores will do! We love using Blick.
Step 4: Shake the spray paint can before use. Make sure to shake it often throughout the painting process, to allow for an even application.
Step 5: The trick of painting your pieces and achieving an even color is to spray thin layers, multiple times. We also recommend that you never aim directly at one spot on your piece, as that can lead to dripping. If dripping occurs, that’s okay! Just wipe it with a cloth, and repaint that spot.
Remember to keep a 10-20” distance between your spray paint can and your pieces, and make sure to wait until each layer is completely dry before applying that next coat of paint!


" *Whenever possible, try to select a base color with a similar luminosity value to the color you intend on using in your final edit. As an example, use white if your final colors will be light or pastel. Opt for a deeper base if you’re hoping to achieve a final color that’s a bit more moody. "
Post-Production Tips
If spray painting isn’t your thing, we’ve got just the resource for you. In Helen Koker’s course: A Guide to Accurate Colour Transformations in Post-Production, Helen teaches her tried and true method behind creating believably striking color transformations from Procreate and Adobe Photoshop.
Note: You can grab the course for just $69 now, and save yourself the hassle of cleaning up paint supplies later.
That said, there’s still a bit of prep that needs to happen prior to shooting and editing those images in post-production. Read our tips below!
*Whenever possible, try to select a base color with a similar luminosity value to the color you intend on using in your final edit. As an example, use white if your final colors will be light or pastel. Opt for a deeper base if you’re hoping to achieve a final color that’s a bit more moody.
*Spend some time experimenting with your blending modes! There can be subtle differences between each mode, many of which will take your color transformations from drab, to fab.
*Get friendly with layer masks. By “get friendly,” we mean that layer masks will become your new best friends! Proper isolation is key to a successful post-production process.
*Always, always, always edit non-destructively using smart objects, layer masks and adjustment layers.
*Be patient and remember that high quality post-production doesn’t happen quickly. There are no shortcuts to the process - you get out what you put in.
It’s ironic that we’re sitting here encouraging you to update your current collection, rather than purchase new pieces entirely. What can we say? We want to encourage you to treat yourself in all ways - and spending less money on props might just mean spending more money on you.
(Also, we’re aware that regardless of how many times you paint your pieces, you’re going to want more. We get it. 😉 Click here to shop our Primer AND Painted Ladies palette)
All photos by Helen Koker


New Comment